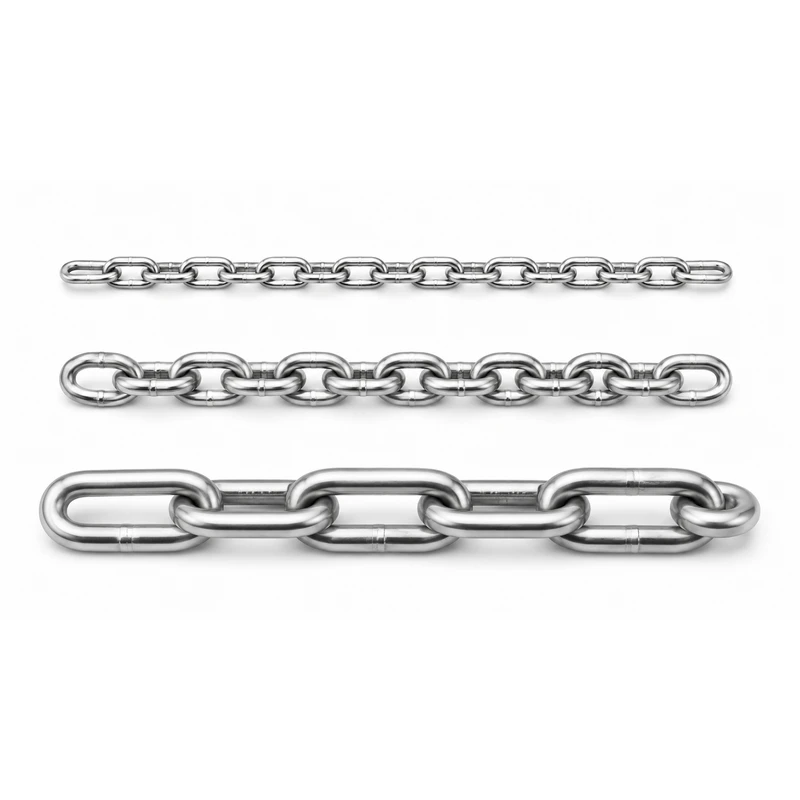
You can attach a cable to an eye bolt in three simple steps: prepare your cable and eye bolt, thread the cable, then secure the connection. Using certified hardware like Powerful Machinery’s Eye Bolts ensures maximum safety and reliability.
Whether you work in construction, marine, or DIY settings, you benefit from straightforward installation. Eye bolts serve many roles, such as lifting heavy loads, anchoring equipment, and hanging outdoor fixtures. Follow these steps for a secure, long-lasting result when learning how to attach cable to eye bolt.
Application Type | Description |
|---|---|
Lifting and Rigging | Secure attachment for hooks and cables |
Marine Applications | Corrosion-resistant anchoring on boats |
Construction and Building | Anchoring scaffolding, safety nets, and equipment |
Outdoor and Recreational | Anchor points for swings, hammocks, and decorations |
Material Handling | Anchor points for hoists and cranes |
Key Takeaways
Always inspect eye bolts and cables for wear or damage before use. This ensures safety and reliability in your projects.
Use certified eye bolts from trusted manufacturers like Powerful Machinery for maximum durability and safety.
Follow the correct steps to prepare, thread, and secure your cable to the eye bolt for a strong connection.
Regularly maintain and inspect your eye bolts to extend their lifespan and prevent accidents.
Choose the right eye bolt based on load capacity and environment to ensure safe and effective use.
Tools and Materials for Eye Bolts
Essential Tools List
Before you begin attaching cable to eye bolts, gather the necessary tools and materials. You need the right equipment to ensure a secure and safe installation. Here is a checklist to help you prepare:
Eye bolts (choose the correct type and size for your application)
Stainless steel cable or wire rope
Cable clamps or wire rope clips
Adjustable wrench or socket set
Wire cutters or cable shears
Tape measure
Safety gloves and goggles
You should inspect each tool for damage before use. Reliable tools help you achieve a professional result and reduce the risk of accidents.
Choosing Powerful Machinery Eye Bolts
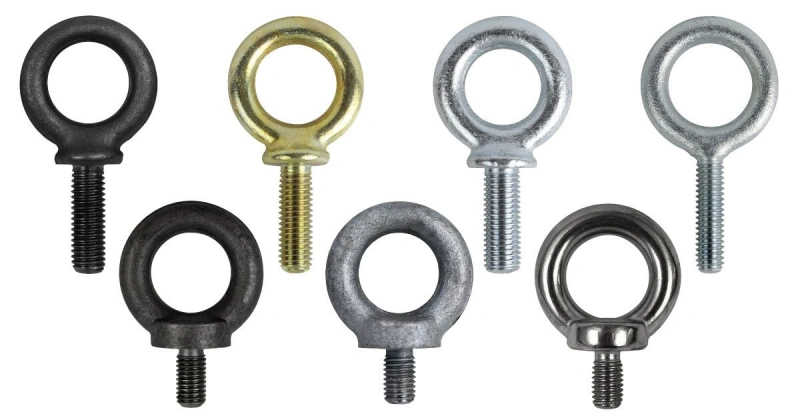
Selecting the right eye bolts is crucial for safety and durability. Powerful Machinery offers a range of certified eye bolts made from high-quality materials. You can choose from several options based on your environment and load requirements:
Material | Corrosion Resistance | Best Use Cases |
|---|---|---|
Stainless Steel | High | Marine, outdoor, and chemical settings |
Galvanized Steel | Moderate | General use, outdoor applications |
Stainless steel eye bolts provide superior corrosion resistance, making them ideal for marine and chemical environments. Galvanized steel eye bolts offer good rust protection for general outdoor use.
Powerful Machinery’s eye bolts meet international standards, ensuring reliable performance in demanding conditions. Grade 304 eye bolts work well for general applications, while Grade 316 eye bolts deliver enhanced resistance to saltwater and chemicals.
Safety Tips
Safety must be your top priority when working with eye bolts and cables. Follow these tips to minimize risks and ensure a secure connection:
Always inspect eye bolts for signs of wear, corrosion, or damaged threads. Verify that each eye bolt meets the required performance standards for your project. Apply loads in line with the eye axis to prevent bending or breaking. Never force equipment into the eye; it should move freely.
Avoid running a sling from one eye bolt to another, as this can create dangerous angular forces. Attach hooks using a shackle for a proper fit. Lift loads slowly to prevent shock loading and keep the load from rotating freely.
By following these guidelines, you maintain a safe working environment and extend the life of your eye bolts.
Prepare Cable and Eye Bolt
Inspect Eye Bolt and Cable
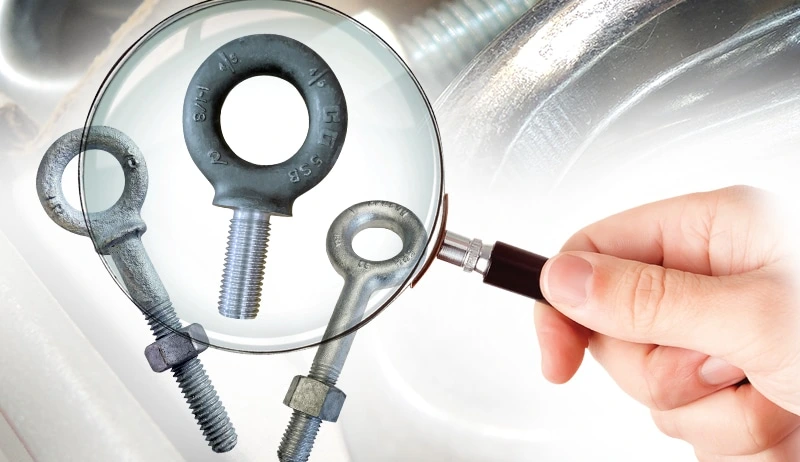
Begin your project by inspecting all eye bolts and cables before installation. You must check each eye bolt for visible signs of wear, corrosion, or deformation. Examine the threads closely and confirm they match the receiving hole or nut.
Look for surface rust or pitting, especially if you store eye bolts outdoors or in humid environments. Always inspect markings and identification for legibility. Clean threads and remove any debris that could affect the connection.
Tip: Maintain a record of inspections and maintenance activities for every eye bolt in your inventory. This practice helps you track the condition of your hardware and ensures compliance with industry standards.
Check the cable for fraying, broken wires, or kinks. Run your fingers along the length to feel for irregularities. Remove any cable that shows damage or excessive wear.
Store eye bolts and cables in a dry, cool place away from direct sunlight. Protect your rigging equipment from heat, dirt, and moisture to prevent corrosion and surface wear.
Cutting and Stripping Cable
Measure the cable to determine the required length for your attachment. Use a tape measure for accuracy. Mark the spot with tape or a marker. Select wire cutters or cable shears designed for your cable’s diameter. Cut the cable cleanly to avoid frayed ends.
If your cable has a protective coating, strip it back using a cable stripper. Expose enough wire to allow for a secure fit through the eye bolts.
Organize your workspace before proceeding. Lay out all eye bolts, clamps, and tools within easy reach. Double-check that the cable fits smoothly through the eye of each bolt. If you notice resistance, inspect the eye bolts for burrs or obstructions. Remove any sharp edges to prevent cable damage during installation.
Note: Proper preparation of eye bolts and cables ensures a safe and reliable attachment. Skipping these steps can lead to premature wear or failure under load.
By following these steps, you set the foundation for a secure and long-lasting connection. You also reduce the risk of accidents and equipment failure in demanding environments.
How to Attach Cable to Eye Bolt?
Attaching a cable to an eye bolt is a straightforward process when you follow the right steps. Using certified hardware from Powerful Machinery ensures your connection meets the highest safety standards.
This section will guide you through how to attach cable to eye bolt, so you achieve a secure and reliable attachment for lifting, anchoring, or rigging applications.
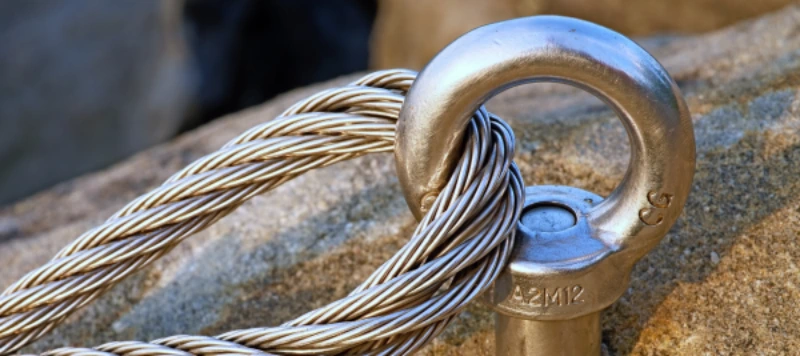
Threading the Cable
Start by feeding the prepared cable through the eye of the eye bolt. Make sure the cable passes smoothly without resistance. If you use Powerful Machinery’s stainless steel eye bolts, you benefit from a precision-engineered eye that allows easy threading and reduces wear on the cable.
Hold the cable steady and pull enough length through the eye bolt to form a loop for your attachment.
Tip: Always check that the cable fits comfortably within the eye. Avoid forcing the cable, as this can damage both the cable and the eye bolt.
If you plan to use a thimble for added protection, insert it into the loop before proceeding. Thimbles help maintain the cable’s shape and prevent abrasion, especially in heavy-duty or outdoor environments.
Securing with Clamps or Knots
Once you have threaded the cable, you need to secure it. You can use cable clamps, wire rope clips, or trusted knots, depending on your application. Powerful Machinery recommends using certified clamps for maximum safety in lifting and rigging applications.
Common methods for securing cable to eye bolts include:
Square knot: Tie tightly with a loop, leaving at least a 2-inch tail for extra security.
Buntline hitch: Offers a strong hold, especially when you need to keep nylon away from hazards.
Halyard hitch: Compact and effective, tightening under tension.
Figure 8 Follow Through: Highly reliable, often used in climbing and safety-critical tasks.
You can also use U-bolts or quick-links for additional security. U-bolts work well with knots, while quick-links allow for fast adjustments and a secure connection.
When using cable clamps, follow these steps:
Place the first clamp as close to the eye bolt as possible.
Add the recommended number of clips for your cable size.
Space the clips evenly along the cable.
Tighten each clamp to the manufacturer’s torque specification.
Size of Eye Bolt | Recommended Torque Value |
|---|---|
Thimble Eye Bolt | 130 ft lb |
Note: Not torquing clamps to the correct value, using the wrong number of clips, or incorrect spacing can weaken your attachment. Always match the clip size to your wire rope and cycle the rope before final tightening.
Double-Check Connection
Before you put any load on your cable and eye bolt, double-check your entire connection. Inspect every clamp, knot, and fitting for tightness and proper placement. Make sure the cable is not frayed or kinked, and that the eye bolt is seated securely.
Refer to industry safety standards to confirm your setup:
Standard | Description |
|---|---|
1926.251(c)(4)(i) | Eye splices in wire rope must have at least three full tucks. |
1926.251(c)(4)(ii) | Use one continuous piece of wire rope without knots or splices. |
1926.251(c)(4)(iv) | Do not use wire rope if more than 10% of visible wires are broken. |
1926.251(c)(5) | Follow guidelines for number and spacing of U-bolt clips. |
1926.251(c)(11) | Avoid shock loading. |
Always use certified hardware like Powerful Machinery’s eye bolts for all critical lifting and rigging applications. Certified products ensure your attachment meets international safety standards and delivers reliable performance.
By following these steps, you learn how to attach cable to eye bolt with confidence. You reduce the risk of failure and create a secure connection that stands up to demanding use. Regularly inspect your eye bolts and cables to maintain safety and extend the life of your equipment.
Tips for Safe Use of Eye Bolts
Selecting the Right Eye Bolt
Choosing the correct eye bolts for your project ensures safety and efficiency. You should match the material and design to your environment and load requirements. Stainless steel eye bolts resist corrosion and work well in marine or outdoor settings.
Forged carbon steel provides strength for heavy lifting. Galvanized steel offers moderate rust protection for general use. Always check the load rating before installation. The table below helps you select the right eye bolts based on shank diameter and weight capacity:
Shank Diameter (in) | Weight Capacity (lbs) |
|---|---|
1/4 | 600 |
5/16 | 900 |
3/8 | 1,300 |
1/2 | 2,500 |
5/8 | 4,500 |
3/4 | 5,200 |
7/8 | 7,200 |
1 | 10,000 |
1-1/4 | 15,000 |
1-1/2 | 22,000 |
2 | 35,000 |
Tip: Always confirm the working load limit (WLL) with the manufacturer’s manual. Select eye bolts with clear markings and certifications for lifting tasks.
Regular Inspection and Maintenance
You must inspect eye bolts regularly to maintain safety. Look for signs of wear, corrosion, or damage. Pay close attention to threads, shoulders, and loops for cracks or deformities. Replace any defective eye bolts immediately. Lubricate threads and shoulders with high-quality lubricant to prevent rust.
Store eye bolts in a dry area to avoid moisture exposure. Never attempt to repair a stressed or damaged eye bolt. Remove and destroy any eye bolts showing bends, elongation, or visible wear.
Note: Routine inspection and proper storage extend the lifespan of your eye bolts and cables.
Avoiding Common Mistakes
Proper installation prevents accidents and equipment failure. You should engage at least 90% of the bolt’s threaded shank. Always seat the shoulder flush against the load surface. Avoid using washers under the shoulder, as this disrupts load distribution.
Start threads by hand to prevent cross-threading. Never over-tighten, as this can deform threads and reduce capacity. Use the correct hole size for maximum thread engagement. Never exceed the maximum working load limit. Exceeding this limit can result in product failure and serious injury.
Insufficient thread engagement reduces capacity and can cause pull-out failure.
Not seating the shoulder eliminates angle load capacity.
Over-tightening deforms threads and lowers strength.
Incorrect hole size reduces thread engagement.
Cross-threading damages the bolt and the load.
Always use eye bolts that are properly installed and suited for your specific application.
Conclusion
You can achieve a secure cable-to-eye bolt connection by following three simple steps: prepare, thread, and secure. Using certified eye bolts from Powerful Machinery gives you superior durability, safety, and reliability compared to generic alternatives.
Feature | Powerful Machinery Eye Bolts | Generic Alternatives |
|---|---|---|
Durability | High, corrosion-resistant | Variable, often lower |
Load Capacity | Superior, heavy-duty | Not always reliable |
Safety | Standards-compliant | May not meet standards |
Always prioritize safety and proper installation. For expert advice or custom lifting solutions, Powerful Machinery offers tailored support and risk identification to help you meet your project’s needs.
FAQ
How do you choose the right eye bolt for your project?
You should select an eye bolt based on load capacity, material, and environment. Stainless steel works best for outdoor or marine use. Always check the manufacturer’s specifications and certifications before installation.
Can you reuse eye bolts after removing them from a previous setup?
You can reuse eye bolts if they show no signs of wear, corrosion, or deformation. Inspect threads and the eye for damage. Replace any eye bolt that fails inspection to maintain safety.
What is the safest way to secure a cable to an eye bolt?
You should use certified cable clamps or wire rope clips for a secure connection. Tighten clamps to the recommended torque. Double-check all fittings before applying any load.
How often should you inspect eye bolts and cables?
You need to inspect eye bolts and cables before each use. Schedule regular inspections for equipment in frequent operation. Look for rust, cracks, or thread damage to prevent accidents.
Can you use eye bolts for overhead lifting?
You can use eye bolts for overhead lifting if they meet industry standards and load ratings. Always follow installation guidelines and use certified products from trusted manufacturers.