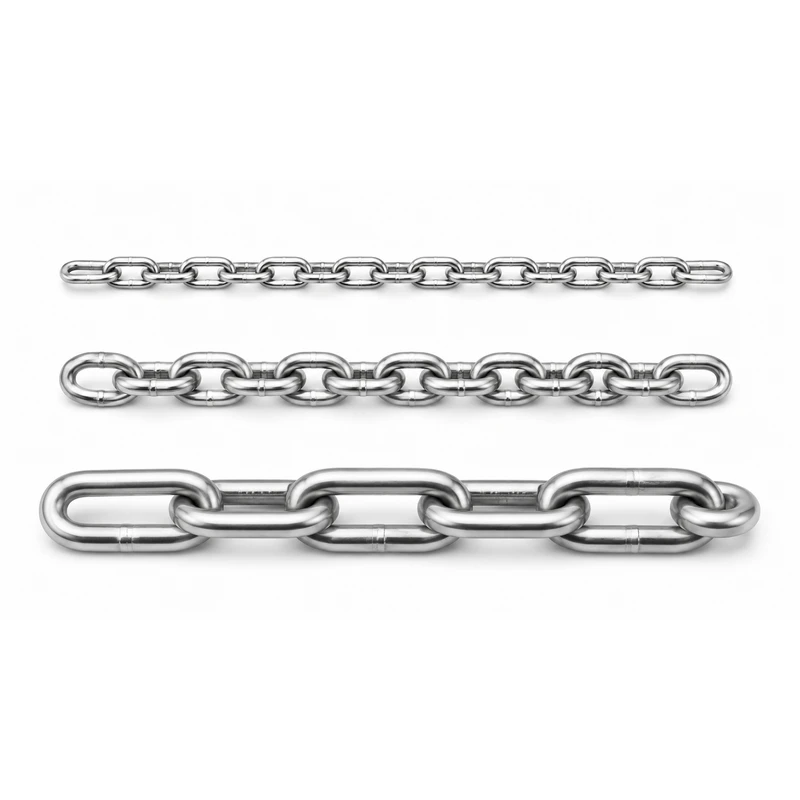
A lever chain hoist that slips, binds, causes the load chain to jump, produces abnormal noise, or shows visible damage should be removed from service rather than used for “one more lift.” Safe lever chain hoist repair starts by unloading and isolating the unit, confirming the exact model, documenting the defect, and using the applicable manufacturer instructions and approved replacement parts.
This guide focuses on manual lever-operated chain hoists. It does not cover electric hoists, hand chain blocks, wire-rope lever pullers, or web-strap lever hoists. It also does not replace the service manual for the exact model. If you need the detailed pre-use and periodic inspection boundary first, use our lever hoist inspection checklist.
When Does a Lever Chain Hoist Need Repair?
A repair decision usually starts with a change in condition or operation rather than a calendar date. Remove the hoist from service whenever a defect, abnormal operation, impact or overload event, missing identification, or failed inspection creates doubt about safe use.
| Observed Condition | What It May Involve | Safe Next Action |
| Load creeps or slips after lever operation stops | Brake, pawl/ratchet mechanism, friction components, contamination, incorrect assembly, or another model-specific fault | If possible, land the load safely, tag the hoist out of service, and send it for qualified evaluation. Do not adjust the brake based on a general web article. |
| Lever becomes unusually hard to operate or operation becomes rough/noisy | Chain seating, load sheave, gears, bearings, pawls, selector mechanism, contamination, or deformation | Stop. Do not use a handle extension or force the mechanism. Unload the hoist and inspect it under the approved procedure. |
| Load chain jumps, binds, twists, or will not track correctly | Incorrect reeving, damaged or worn chain, damaged load sheave, foreign material, or misalignment | Remove the hoist from service. Do not pull harder or substitute general-purpose chain. |
| Direction selector or free-chaining function will not engage or reset normally | Selector, spring, pawl, free-chaining mechanism, or internal assembly issue | Use free-chaining only while unloaded and as permitted by the manual. If the function behaves abnormally, tag the unit out. |
| Hook, latch, body, lever, or suspension component is cracked, bent, distorted, deeply gouged, or seriously corroded | Overload, impact, side loading, wear, environmental attack, or prior damage | Remove the hoist from service and compare the exact part with the model-specific acceptance criteria. |
| The hoist was overloaded, shock-loaded, dropped, altered, or involved in an incident | Hidden damage to load-bearing or internal parts | Treat the hoist as requiring event-triggered inspection or repair before reuse. |
Before Any Repair: Isolate, Identify, and Document the Hoist
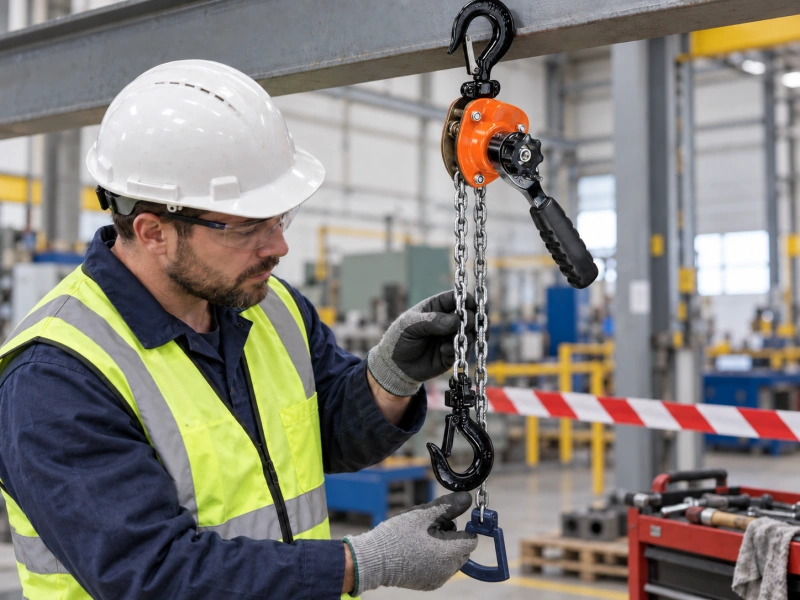
Do not begin by removing the cover. Begin by controlling the equipment and the information associated with it.
- Unload and isolate the unit. Place the load in a safe condition, if this can be done without increasing risk. Tag the hoist to prevent unintended reuse.
- Identify the exact hoist. Record the manufacturer, model, serial or lot number, rated capacity, lift or reach, load-chain specification, and number of load-chain falls.
- Obtain the current controlled technical documentation. Use the correct operating manual, inspection criteria, parts list, service instructions, drawings, and any applicable site procedure.
- Record the defect and event. Document what happened, the load and task, abnormal sounds or behavior, visible damage, inspection findings, and any previous repair history. Photographs can help the repair provider assess the condition before disassembly.
- Confirm who is authorized to repair the hoist. Internal brake, gear, load-chain, hook, suspension, or structural work should be performed only by personnel with the competence required by the manufacturer, employer, and governing program.
If the nameplate or identification is missing and the unit cannot be positively matched to approved instructions and parts, do not guess. A hoist of unknown identity is not a suitable candidate for improvised repair.
Routine Maintenance vs Qualified Repair
Maintenance and repair are related, but they are not the same task. Operator-level maintenance may include cleaning accessible surfaces, maintaining the load chain as specified by the manual, applying the specified lubricant where authorized, protecting the hoist during storage, and reporting defects. These tasks do not authorize internal adjustment or make a damaged component acceptable for service.
| Routine Maintenance When Permitted by the Manual | Escalate to Qualified Repair / Technical Evaluation |
| Wipe dirt from accessible surfaces so damage can be seen. | Brake slip, load drift, abnormal braking response, or contaminated/damaged friction components. |
| Clean and lubricate the load chain with the method and lubricant specified for the exact model. | Damaged, stretched, twisted, welded, spliced, substituted, or incorrectly reeved load chain. |
| Keep markings readable and maintain the inspection/maintenance record. | Cracked, bent, twisted, deeply gouged, heat-damaged, or heavily corroded hooks or load-bearing parts. |
| Store the hoist clean, dry, unloaded, and protected as the instructions require. | Internal gear, shaft, bearing, pawl, ratchet, selector, free-chaining, or load-sheave faults. |
| Report unusual sound, force, travel, corrosion, or impact damage before the next use. | Any condition requiring disassembly, dimensional acceptance measurements, special tools, adjustment, or post-repair testing. |
Do not weld, splice, straighten, or lengthen a damaged load chain. Do not substitute general lifting chain simply because its diameter appears similar. The replacement chain must match the hoist design and approved parts information.
Lever Chain Hoist Troubleshooting by Symptom
Troubleshooting should narrow the problem and determine the safe disposition of the hoist. It should not become a trial-and-error repair while the hoist is carrying a production load. If you are unfamiliar with the mechanism, review what a lever hoist is and how it works before diagnosing symptoms.
| Symptom | Check Without Internal Disassembly | Do Not Do |
| Brake will not hold or load drifts | Confirm the symptom using the approved test method; review the defect history and visible condition; verify that the unit has not been overloaded, contaminated, or incorrectly assembled after previous work. | Do not tighten, shim, oil, or alter brake parts by guesswork. |
| Chain binds or jumps | Check visible chain condition, twisting, reeving, chain ends, contamination, and whether the chain seats correctly in the load sheave. | Do not hammer the chain into place, pull harder, weld links, or install non-approved chain. |
| Lever pull becomes excessive | Check for obvious misalignment, damaged chain, external obstruction, impact damage, or abnormal selector/free-chain behavior. | Do not extend the handle or use powered assistance. |
| Abnormal clicking, grinding, or irregular travel | Stop and record when the sound occurs and the selector position; inspect visible components and chain feed. | Do not keep cycling the hoist to “wear it in.” |
| Selector/free-chaining function behaves unexpectedly | Verify that the hoist is unloaded and follow the exact reset sequence in the model manual. | Do not use free-chaining mode to lower or release a supported load. |
| Hook or body deformation | Compare with model-specific drawings, baseline dimensions, and acceptance criteria. | Do not heat, bend, grind, or straighten load-bearing parts unless an approved repair procedure specifically permits it. |
Components Commonly Evaluated During Repair
The exact parts vary by model, but a qualified repair process commonly evaluates the following areas when indicated by the reported symptom:
- Load chain, chain ends, load sheave, guides, and reeving.
- Upper and lower hooks, latches, retaining parts, and suspension connections.
- Brake friction components, pawls, ratchet parts, springs, and related shafts.
- Gears, bearings, pins, shafts, rollers, and fasteners.
- Operating lever, grip, direction selector, and free-chaining mechanism, where fitted.
- Housing, covers, guards, labels, and any components that keep the load path properly contained and identified.
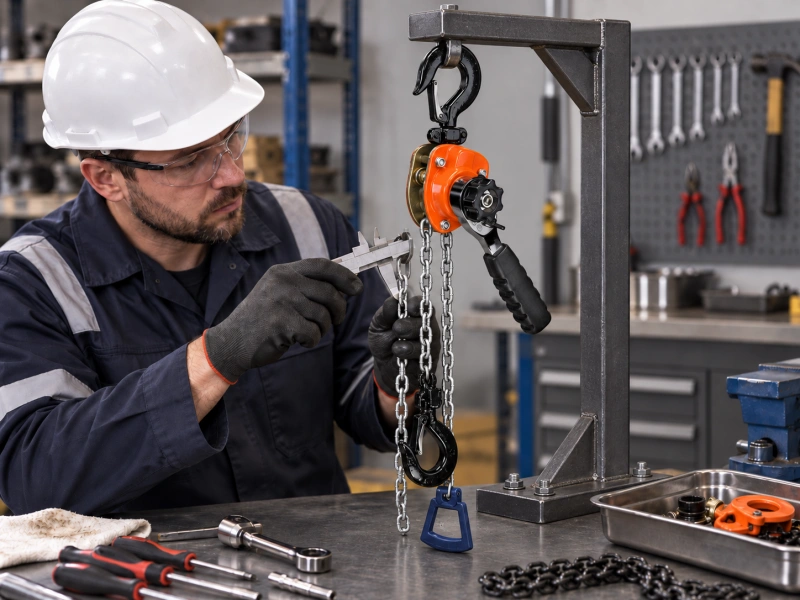
Wear limits, spring dimensions, brake-friction thickness, hook dimensions, chain pitch, and chain diameter are not universal. Use the measurement methods and discard criteria specified for the exact model and capacity.
Qualified Lever Hoist Repair Workflow
A qualified repair provider should work from controlled model-specific information rather than a generic internet procedure. At a high level, a safe repair workflow is:
1. Confirm the unit identity, rated capacity, service history, reported defect, and applicable instructions.
2. Complete the inspections needed to define the repair scope, including model-specific measurements where required.
3. Disassemble only to the extent authorized by the service procedure and only by personnel with the required competence and tools.
4. Replace worn or damaged parts with manufacturer-recommended or otherwise approved parts for that model. Do not improvise substitutions for load-bearing components.
5. Reassemble, adjust, secure fasteners, lubricate, and reeve the load chain exactly as the controlled procedure specifies.
6. Complete the specified post-repair inspections, functional checks, and any required load testing before release.
7. Record the parts used, measurements, work performed, test results, repair provider, and the person authorizing return to service.
This is intentionally not a disassembly tutorial. Brake assembly order, torque values, load-chain installation details, test loads, and adjustment dimensions belong in the model-specific service documentation, not in a general SEO article.
Post-Repair Inspection, Testing, and Return to Service
A hoist should not be returned to service simply because the lever moves smoothly on the bench. The repair record should show that all applicable return-to-service requirements have been completed.
- Confirm that all required parts, fasteners, guards, labels, chain ends, and suspension components are present and correctly assembled.
- Check load-chain installation and reeving, the return from free-chaining mode, selector operation, and no-load travel as required by the model procedure.
- Verify brake operation using the authorized method. Do not create an improvised production-load brake test.
- Complete any required load test using suitable test equipment, controlled conditions, and the exact test load and procedure specified by the manufacturer, applicable standard, site program, and jurisdiction.
- Document the results and obtain the required release authorization before removing the out-of-service tag.
Some manufacturer procedures require load testing after load-suspension components have been disassembled and reassembled. This demonstrates that post-repair testing may be required; it does not justify applying one test percentage to every lever-hoist repair.
Preventive Maintenance Without Overstepping the Repair Boundary
Effective maintenance can reduce the likelihood that a minor condition develops into an unplanned repair, but the schedule must match the actual service conditions. Use the exact model instructions, service classification, environment, and site program rather than applying one fixed “monthly and yearly” interval to every hoist.
| Maintenance Point | Practical Action |
| Before Use / Shift | Look for visible damage, abnormal operation, chain problems, hook issues, missing identification, and changes from the previous condition. Stop if a defect is found. |
| Assigned Frequent Interval | Review operating mechanisms, braking response, hooks, load chain, body/lever, attachments, and any items specified by the controlled inspection program. |
| Assigned Periodic Interval | Have the designated/qualified person complete the detailed inspection, measurements, internal examination, or disassembly required for that service class and model. |
| After an Abnormal Event | Trigger an evaluation after overload, shock, impact, drop, unauthorized alteration, long idle time, serious contamination, or unexplained malfunction before reuse. |
| Ongoing Maintenance | Clean and lubricate only as specified; keep identification and records legible; protect the hoist from corrosion and contamination during storage. |
For a more detailed inspection program, use the lever hoist inspection checklist rather than expanding this repair page into a second inspection article.
When Replacement Is Safer or More Practical Than Repair?
Repair is not automatically the appropriate outcome. Replacement may be more suitable when the unit cannot be positively identified, approved parts or controlled service information are unavailable, damage affects major load-bearing structures, corrosion is extensive, defects recur, or the cost of repair and testing approaches the value of a suitable replacement.
If replacement is required, compare the intended task, rated load, lift or reach, operating effort, headroom, chain specification, environment, and documentation in the Powerful Machinery lever hoist range. If a lever mechanism is not the best fit for the job, review the lever hoist vs chain block comparison or the broader manual hoists range before selecting the replacement.
Standards and Documentation
ASME B30.21 covers the construction, installation, operation, inspection, and maintenance of lever hoists within its stated scope, including lever-chain types used for lifting, pulling, and tensioning. Applicable legal and workplace requirements still depend on the jurisdiction, employer, site, and exact product.
Useful technical reference: ASME B30.21 – Lever Hoists
For repair decisions, keep the current model manual, parts list, service instructions, inspection records, repair work order, parts traceability records, test records, and return-to-service authorization together. A company quality certificate or general catalogue does not replace model-specific repair data.
FAQ
Can I Repair a Lever Chain Hoist Myself?
Routine cleaning, external checks, and lubrication may be appropriate when the exact manual assigns those tasks to the user. Internal repair, brake work, load-chain replacement, work on load-bearing components, disassembly, adjustment, and post-repair testing require the competence and controlled procedures specified for the hoist. If either the required information or competence is unavailable, tag the unit out and use qualified service.
Can a Damaged Load Chain Be Welded or Repaired?
Do not weld, splice, straighten, or lengthen a damaged hoist load chain. Replace it only with the chain specified or approved for the exact hoist, and follow the model-specific installation and reeving procedure.
Is 10% Wear a Universal Discard Limit for a Lever Hoist?
No. Hook opening, hook cross-section, chain pitch, chain diameter, friction-component thickness, spring dimensions, and other discard limits are model-specific. Use the current controlled manual and measurement criteria for the exact model and capacity.
Does Every Lever Hoist Repair Require a 125% Load Test?
Do not apply a universal test percentage from a general article. Some manufacturer procedures specify a post-repair load test for particular work, but the trigger, test load, equipment, method, and release criteria must come from the exact manufacturer procedure, applicable standard, site controls, and jurisdiction.
How Often Should a Lever Hoist Be Serviced?
There is no single interval that applies to every lever hoist. Service frequency depends on the model, operating frequency, normal/heavy/severe service classification, environment, inspection findings, abnormal events, site program, and local requirements.
What Should Be Included in a Lever Hoist Repair Record?
Record the equipment ID, model, serial or lot number, rated capacity, defect, inspection findings, measurements, approved parts used, work performed, technician or repair provider, post-repair checks and tests, date, and the person who authorized service return.