To attach wire rope to an eye bolt, start with the purpose of the connection. For a static, non-lifting application, you may form a rope eye with a termination approved for that rope and service, then connect it to a properly installed eye bolt. A compatible thimble can protect the rope eye from wear. Overhead lifting calls for a rated lifting point and a rated wire rope assembly with a permitted end termination.
In either case, check the direction of pull, the mounting and the fit of the connecting parts before use.
In this guide, “cable” means steel wire rope. Fibre rope knots, electrical cable, and personal fall protection require different guidance. A loop that looks secure is not necessarily suitable for lifting.
First, Match the Method to the Application
Ask what will pull on the eye bolt, in which direction, and under what conditions. A fixed guard cable, a tensioned line and a crane sling have different requirements. If the connection supports people, a suspended load, or another critical system, use a design and components approved for that service. The non-lifting steps below do not cover those applications.
| Question | Static, non-lifting connection | Overhead lifting connection |
| Wire rope end | Use a termination approved for the rope and application. Follow its exact installation instructions. | Specify a rated wire rope sling or assembly with a permitted end termination and legible identification. |
| Connection at the eye bolt | Check fit, bending, abrasion and the permitted load direction. A compatible connector may be needed. | Verify the rated lifting point, connector and sling eye as a complete load path. Avoid side loading. |
| Capacity check | Follow the applicable lifting rules, equipment manual, and qualified lift plan. | Use the rating for the assembled arrangement, hitch, and angle; check every component and the supporting structure. |
| Installation authority | Follow each component manufacturer and the project design. | Follow the applicable lifting rules, equipment manual and qualified lift plan. |
Clip count and tightening torque depend on the selected clip and rope, not the eye bolt. The bolt’s working load limit (WLL) also cannot be used as the rating of the complete connection.
Choose the Eye Bolt and Check the Load Direction
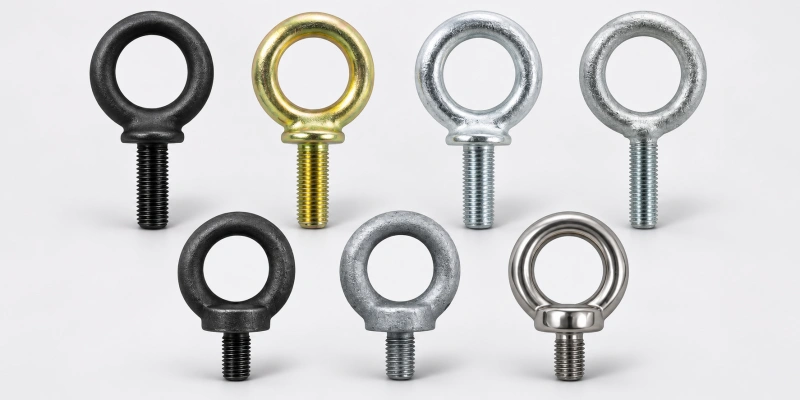
Identify the exact bolt pattern and its permitted load direction. A regular nut eye bolt does not have the same angular-loading capability as a suitable shoulder eye bolt or purpose-designed lifting point. Powerful Machinery’s G291 eye bolt specifications describe a regular nut pattern for straight-line loading.
A larger G291 shank does not make it suitable for an angular lift. If the pull is at an angle, select a product rated for that direction and follow its own load and installation data.
Check the mounting as well as the bolt. The thread, nut or tapped hole, supporting material and shoulder seating, where applicable, all affect the connection. Follow the model instructions for thread engagement, seating and permitted washers or spacers. A catalogue WLL cannot compensate for an inadequate mounting structure.
Inspect the eye and shank for distortion, cracks, corrosion, and thread damage. Make sure the connected fitting can move or bear as intended without levering against the eye or crowding the connection. For more on how direction changes a lifting point decision, see the eye bolt lifting angle guide.
How to Connect Wire Rope for a Permitted Non-Lifting Use
Use this sequence only where the application allows the chosen termination. Follow its installation instructions and the project design.
1. Inspect and Identify the Components
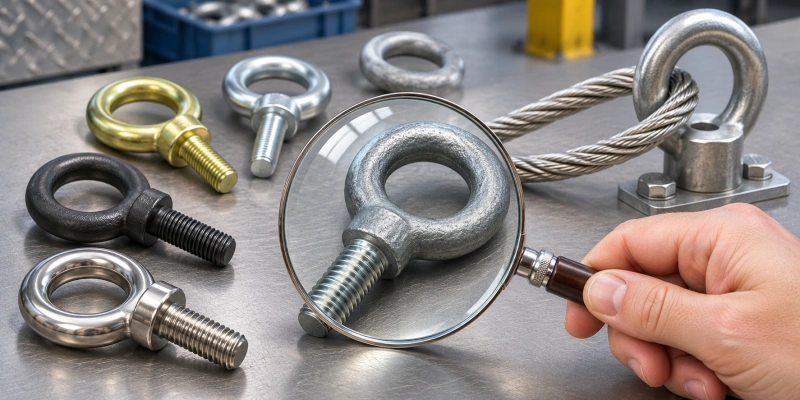
Confirm the rope diameter and construction, the eye bolt model, the end fitting, and the anticipated force. Inspect the rope for broken wires, kinks, crushed areas, and corrosion. Check the bolt threads, eye, and support. Reject parts that are damaged or cannot be identified.
Select a termination that is compatible with the rope material, construction, and diameter; a clip that fits over the rope is not necessarily suitable for that rope or service.
2. Install the Eye Bolt as Specified
Mount the eye bolt in a structure suited to the expected load. Follow the applicable instructions for the chosen bolt, including the nut or tapped-hole arrangement and the allowed direction of pull. Recheck the final line of force after the cable is tensioned. It can differ from the direction you expected when the hardware was unloaded.
3. Make and Connect the Rope Eye
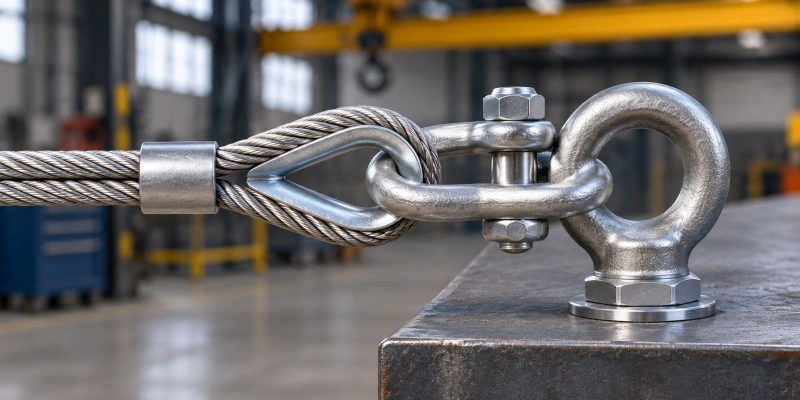
Decide whether the rope will be terminated around a compatible fitting or made into a separate eye that connects through another suitable component. A properly sized wire rope thimble can support the shape of a rope eye and reduce local abrasion, but only when it fits the rope and the mating hardware.
Do not force a thimble or rope eye into a small eye bolt opening, and do not bend the wire rope sharply around a narrow edge.
Where clips are permitted, match the drop-forged wire rope clips to the rope. Follow the selected clip manufacturer’s instructions for turnback length, clip count, spacing, orientation, nut torque, and retightening after initial loading, if required. For a standard U-bolt clip, the saddle bears on the live end and the U-bolt on the dead end.
The wire rope clip installation guide explains this arrangement, but the instructions for your exact product determine the installation values.
4. Check the Completed Connection
Before service, inspect the rope eye for fit, pinching, loose strands, and damage. Check the termination as its instructions require, then confirm that the eye bolt remains secure and the pull stays within its allowed direction. Inspect the connection again at intervals suited to its use and environment. Remove damaged parts from service.
What Changes for Overhead Lifting?
For lifting, specify the whole assembly before installing its parts: a lifting point and mounting suited to the direction of force, a rated wire rope sling, and compatible connecting hardware. Verify the sling marking and its rated load for the hitch and angle in use.
Check that the eye, connector, and rope eye fit without crowding, prying, or side loading. The completed arrangement must be assessed as a system; a higher-capacity eye bolt cannot correct an unsuitable sling or anchor.
A finished sling eye may use a manufacturer-approved swaged, spliced, or other permitted termination. Do not improvise a lifting sling by tying a knot in steel wire rope. In U.S. construction work covered by OSHA 1926.251, eyes in wire rope bridles, slings, and bull wires must not be formed with wire rope clips or knots.
OSHA’s broader wire rope sling guidance also directs users to the sling and clip manufacturers’ instructions and describes limited circumstances requiring a qualified design. Check the rules that apply to your site and use a properly specified assembly rather than transferring a static cable method to a lift.
If the lift geometry cannot keep the force within the chosen point’s permitted direction, change the rigging arrangement or the lifting point before lifting. Use the load table and mounting instructions for the exact model; angular reduction factors from another product do not transfer.
Common Mistakes to Avoid
Tying a knot in steel wire rope. A fibre rope hitch is not a substitute for a wire rope end termination. For lifting, use a permitted, rated sling assembly.
Judging capacity by bolt diameter alone. Catalogue ratings describe particular models under stated conditions. The rope, termination, connector, mounting, and load angle also affect the completed assembly.
Treating a clip-made eye as a lifting sling. A permitted clip termination in one service is not automatically suitable for overhead lifting. Confirm the rules and the rating of the actual assembly.
Forcing a mismatch. A thimble that does not seat correctly, a connector that binds in the eye, or a rope that bends over a sharp edge can damage a connection. Check actual dimensions and bearing surfaces, not just nominal rope diameter.
Ignoring changes after installation. Movement, corrosion, abrasion, and loose hardware can alter the connection. Inspect the complete load path in its working position, and investigate any unexpected rotation, movement or wear before further use.
What to Send When Ordering the Components?
Start your enquiry with the application and whether the connection will be used for lifting. Include the rope diameter, construction, length and finish; required load or assembly rating; eye bolt model, thread and mounting; expected direction of pull; preferred termination; drawing; and quantity. For lifting, add the equipment and sling requirements, applicable standard and documents required with the order.
Powerful Machinery lists eye bolts, clips, thimbles and wire rope fittings. A catalogue range is a starting point for specifying components. Ask for the current data and installation instructions for the exact items before approving the finished connection.
FAQs
Can You Attach Wire Rope Directly Through an Eye Bolt?
A rope can physically pass through some eye bolts, but that does not establish a suitable end termination or an acceptable bending radius. Check the eye dimensions, bearing surface, and rope manufacturer’s limits. A thimble eye and compatible connector may be a better arrangement where the parts fit and the application permits it. For a lift, use a rated, approved assembly.
Can You Use Wire Rope Clips to Form the Loop?
Only where the application and applicable rules allow it. Use the instructions for the selected clip and rope rather than a universal installation table. In U.S. construction work covered by OSHA 1926.251, clips must not be used to form eyes in wire rope bridles, slings, or bull wires.
Do You Always Need a Thimble?
Not every termination uses a separate thimble. It can protect a rope eye where the selected design and mating hardware accommodate it. Confirm its shape, material, and size for the rope and connector rather than inserting one by default.
Can a G291 Eye Bolt Be Used for an Angled Pull?
No. The G291 regular nut pattern is intended for straight-line loading. For an angular lift, select a point rated for the actual direction and check its model-specific mounting and load table.
Can You Use a Swaged Eye Instead of Clips?
A swaged termination may be an option when it is specified for the rope and application and made with the correct sleeve, tooling, and process. For lifting, obtain a rated sling made and identified for the intended hitch and load. A sleeve visible on a rope is not, by itself, proof of its capacity.